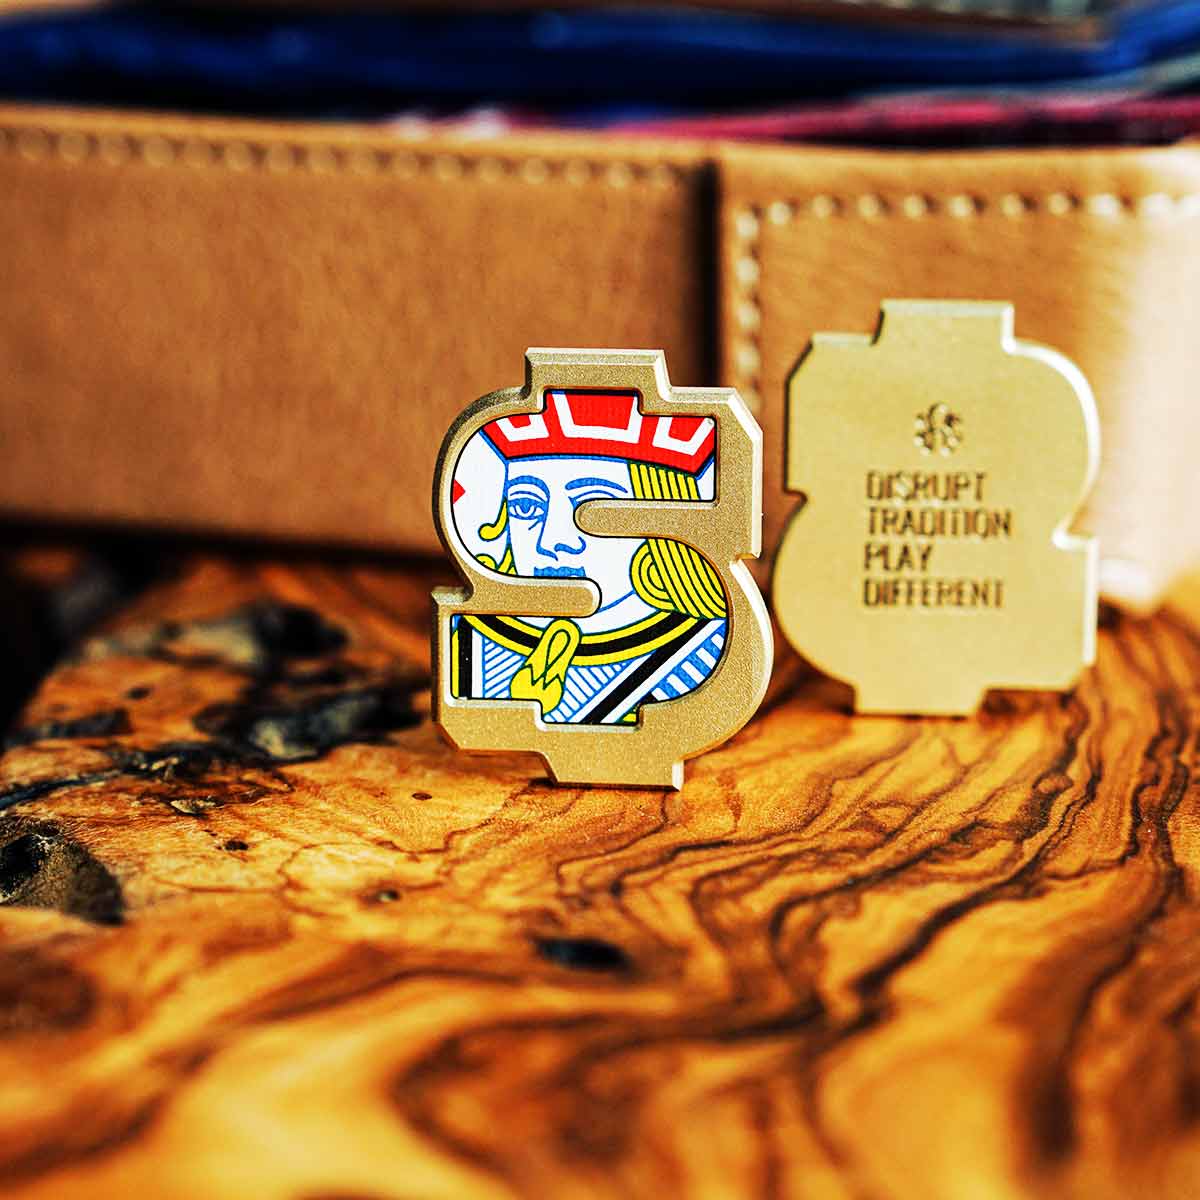
The Making of the Revolver Pitch Tool.
Share
The Making of the Revolver Pitch Tool. From two-piece press-fit to one-block stainless rethink.
We build things because the market makes boring tools and collectors want character. The Revolver Pitch Tool started as a bold idea and became a practical lesson in design, machining, and finish. Below is the exact path I took. It's a maker's narrative and a how-to for anyone who wants to mill heirloom golf tools.

The idea. Form meets function.
The goal was simple. Make a pitch tool that reads like a pocket artifact. It needed weight. It needed balance. It needed a shape that reads as intentional in the hand. Early prototypes explored brass and copper for warmth and patina. Later iterations moved to stainless for durability and a surgical look. Two approaches emerged. Version 1. Two-piece assembly with a press-fit prong. Version 2. Full one-block milling. Both taught different lessons.
Version 1. Barrel and prong. Press-fit logic.
Design choice. Mill the barrel and prong as separate components. Advantages. Faster finishing on thin prongs. Easier to fixture. Cleaner mirror polish on prong faces. Disadvantages. Two operations. Fit tolerance work. Risk of loosening over time without the right interference.
Production steps.
-
Machine barrel from solid bar stock. Drill and ream the prong bore to tight tolerance.
-
Machine the prong from thin stock so it could be slightly oversized where it would press into the barrel.
-
Deburr and lap mating surfaces. Use controlled interference fit. Heat the barrel or chill the prong where required. Press fit on arbor press.
-
Finish assembly by blending the joint with files and light hand-sanding so the seam disappears but mechanical integrity remains.
Lessons learned. Press-fit works and looks clean when tolerances are right. But complexity rises when scaling. And repair or rework is harder when parts are permanently joined.
Version 2. One block. Total integration.
Design choice. Mill the entire tool from a single block. Resulting part is monolithic. No joints. Better repeatable strength. Cleaner visual lines. More demanding CAM and fixturing.
Production steps.
-
Start with a bar or billet sized slightly larger than final stock.
-
Use multi-op fixturing. Index part or use a vice with a custom soft-jaw profile. Consider multiple setups for prong relief and underside features.
-
Use a rest-machining strategy to preserve thin features. Use sacrificial tabs or micro-tabs where needed then break off and hand finish.
Why go one-block. Monolithic parts survive real use. They feel premium. They simplify QC at scale.
Fusion 360. Design workflow.
Keep the model parametric. Name every sketch and feature. You will thank yourself when you iterate.
-
Reference geometry. Start with center planes and a profile sketch of the barrel and handle. Use real-world dimensions for stock.
-
Sketch prong profile on plane. Use constraints. Dimension critical fits. If doing Version 1 use a concentric bore sketch for press-fit tolerance. For Version 2 model the prong as a thin extrusion merged with the barrel.
-
Use Revolve for round sections like the barrel. Use Extrude for flats and tabs. Use Fillet and Chamfer for hand-feel edges. Keep radii consistent across all features.
-
Create construction sketches for mounting faces and datum points. These are your CAM references.
Export. Save step and native Fusion file. Export a 3D STEP for CAM if necessary.
CAM. Toolpath strategy and priorities.
CAM is where design becomes reality. Double-check stock. Confirm clamps and tab locations.
-
Setup. Define stock size and orientation to match your fixture. Set work origin to a corner or center based on Haas zero strategy.
-
Roughing. Use an adaptive clearing or trochoidal strategy to remove bulk. Prioritize chip evacuation and consistent tool engagement. Use a slightly conservative stepdown for stainless.
-
Rest machining. After roughing, use rest machining to remove remaining material with smaller tools. This prevents overcut on thin prongs.
-
Finishing. Use 2D contour and 3D parallel or pencil finishing where contours are complex. For rounded prong edges use a small ball nose for final passes.
-
Drills and boring. If Version 1, machine the bore last with a reamer for tight tolerance after roughing to avoid chatter.
-
Tabs and micro features. If you used tabs to hold thin features, program toolpaths to leave minimal stock at tabs to simplify hand removal.
Tool selection. Carbide endmills for stainless. Tool diameters scaled to feature sizes. Use high-quality holders to avoid chatter. Use peck drilling for deep holes.
Haas Mini Mill. Machining specifics.
Machine choice. The Haas Mini Mill is rigid and reliable for small-batch metalwork. Set realistic cut parameters. Below are guideline ranges. Validate with chips and sound. Adjust based on tooling and material.
Brass/copper (soft metals). Higher feed. Moderate RPM. Aggressive stepdown allowed. Use lighter coolant to avoid smear.
Stainless (304/316). Lower feed per tooth. Higher spindle RPM depending on tool. Lower axial engagement. Multiple shallow passes. Use flood coolant. Prioritize chip evacuation.
Fixturing. Use soft jaws machined to profile. Use parallels and minimal clamp intrusion into toolpaths. For one-block machining consider indexing the part and using a precision stop for repeatable setups.
Hand finishing. From raw to heirloom.
Handwork is the brand signal. The mill gets you within fractions. The hand finish gives the object soul.
-
Deburr every internal corner with fine files and ceramic stones.
-
Sand progressively. Start 320 grit. For brushed textures use Scotch-Brite and uniform strokes.
-
Glass bead. Blast to produce matte, uniform surface or to knock down burrs while preserving contours. Use correct pressure for material. Brass and copper patina differently from stainless; plan finish sequence accordingly.
-
Laser signature and logo. Use fiber laser for metal branding. Vector the logo in black-and-white. Position on a flat or lightly radiused face. Use low-power, high-speed passes for shallow marking. Test on scrap first.
-
Final QC. Check fit, weight, balance, and finish. Verify prong stiffness. Confirm logo contrast and legibility.
Why this matters.
Moving from two-piece press-fit to one-block milling was a progression toward durability and scale. The one-block method demands better CAM and fixturing but returns consistency. It is the difference between a hobby item and a product you can trust in a collector's hand.
Find the brass version here...

